
When we work with AWS lambda sometimes we need to call an external API to invoke certain actions or retrieve data. Recently I was working on a project where I needed to trigger an Airflow DAG (running on EC2) with lambda function and I faced a problem doing so without exposing Airflow port 8080 to open a wide IP range of 0.0.0.0/0. Since lambda doesn’t come with an external IP address it was not possible to use a security group to allow traffic from a specific lambda IP. But I wanted to secure the Airflow EC2 instance and allow only predefine IPs to access it.
So I started looking for a way to implement it and after a few trials and errors, I was able to implement the following changes that allow me more securely invoke the Airflow DAG without using 0.0.0.0/0 in the security group for port 8080. So the final infrastructure looks as follows.
I’ve decided to create a step-by-step guide for anyone who faces a similar problem.
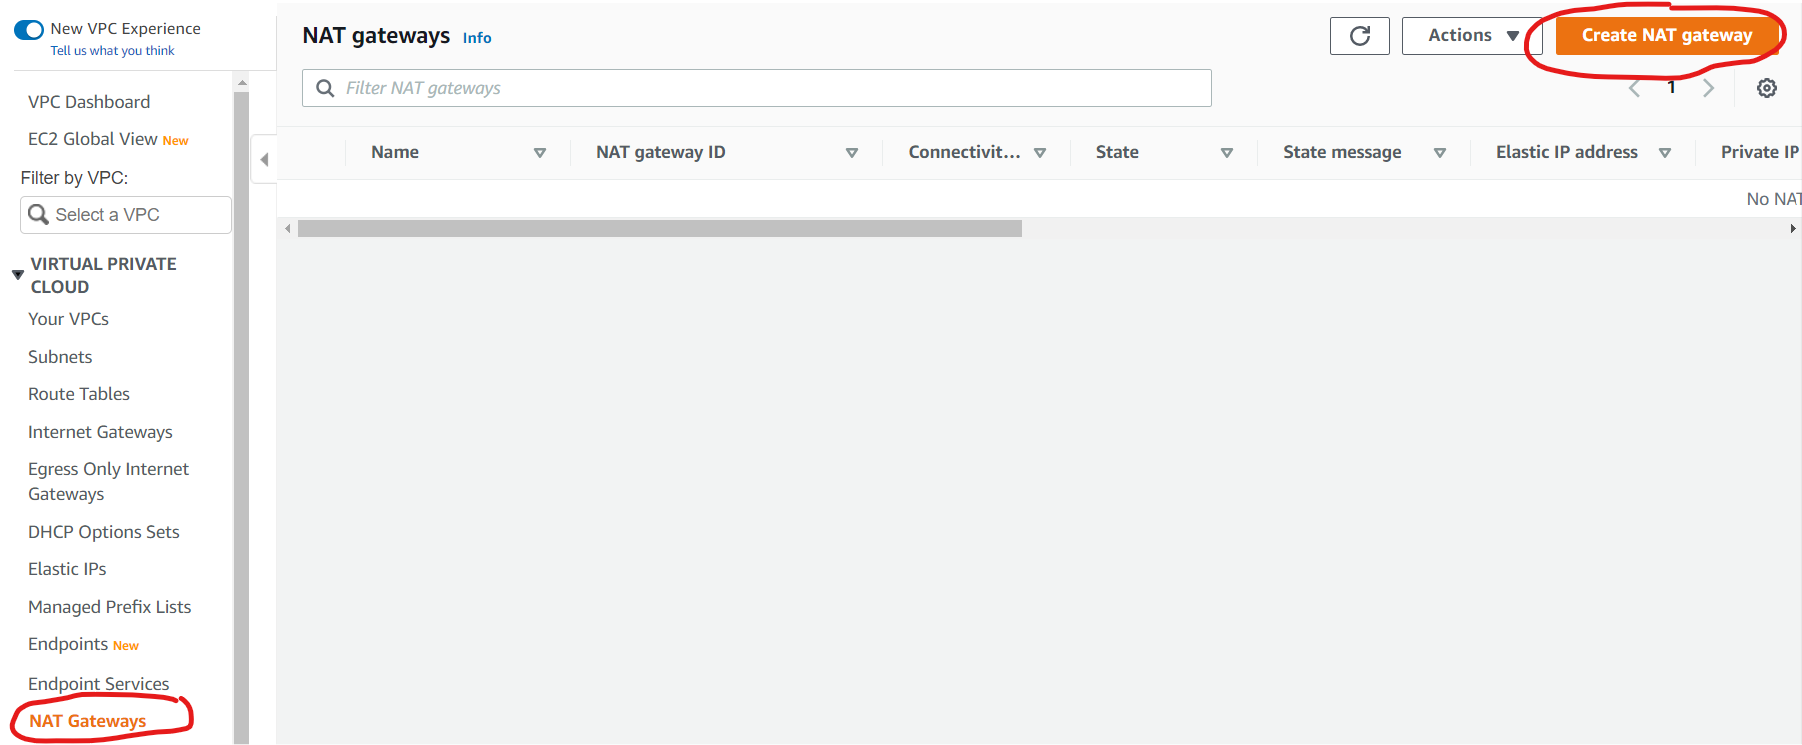
Step 1. Create a NAT Gateway
AAs we know lambda doesn’t have external IP so we need to use NAT Gateway with elastic IP to enable lambda to access external recourses via the internet. Since my default VPC comes with Internet Gateway I don’t need to create it. Under VPC go to NAT Gateway and click “Create NAT gateway”
GGive it a name and assign it to subnet (please make a note of that subnet), select connectivity type public and click allocate elastic IP, after finishing click “Create Nat gateway”. You will end up with a NAT gateway with public/elastic IP and private/internal IP. Please make a note of the external IP, we will use it to add to an EC2 security group.
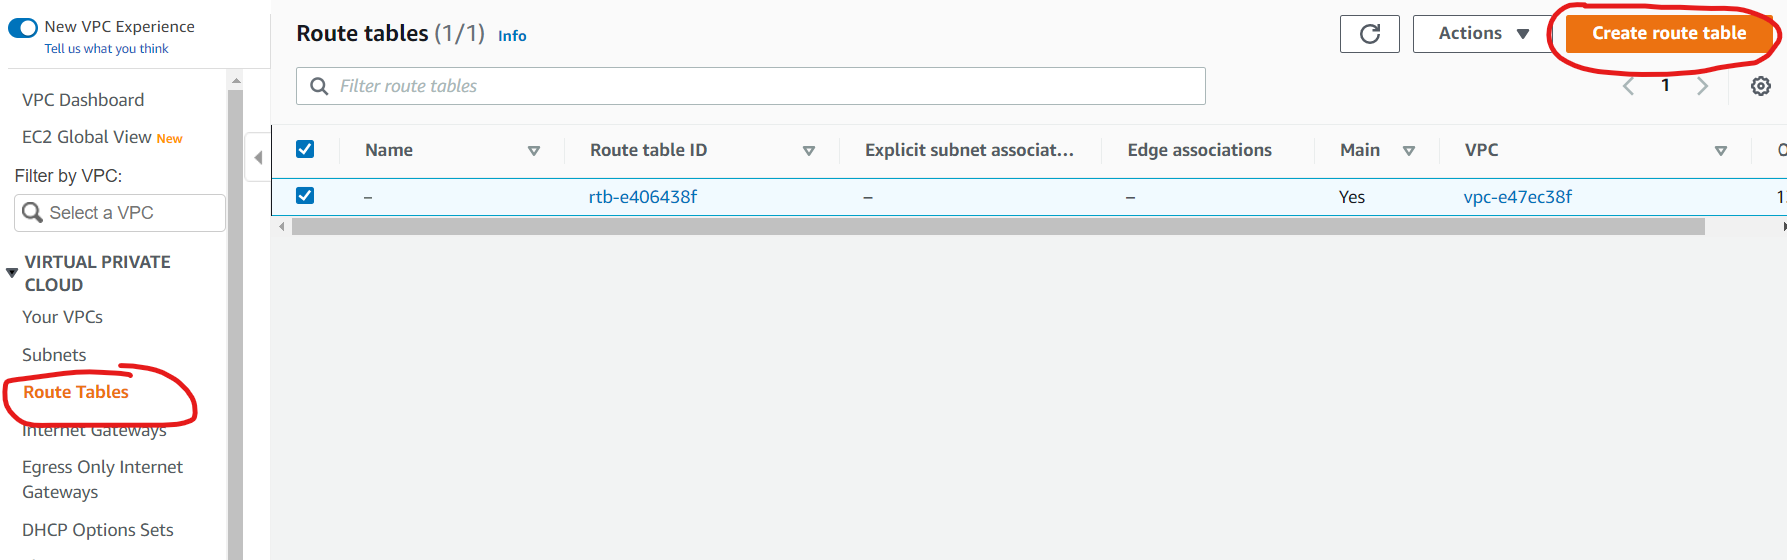
Step 2. Adjust Route Table.
Under Route Table, we will create a new table that will determine where to direct traffic from specific subnets. Remember route tables act at the subnet level, not the VPC level. Under VPC to go Route Tables and click “Create route table”
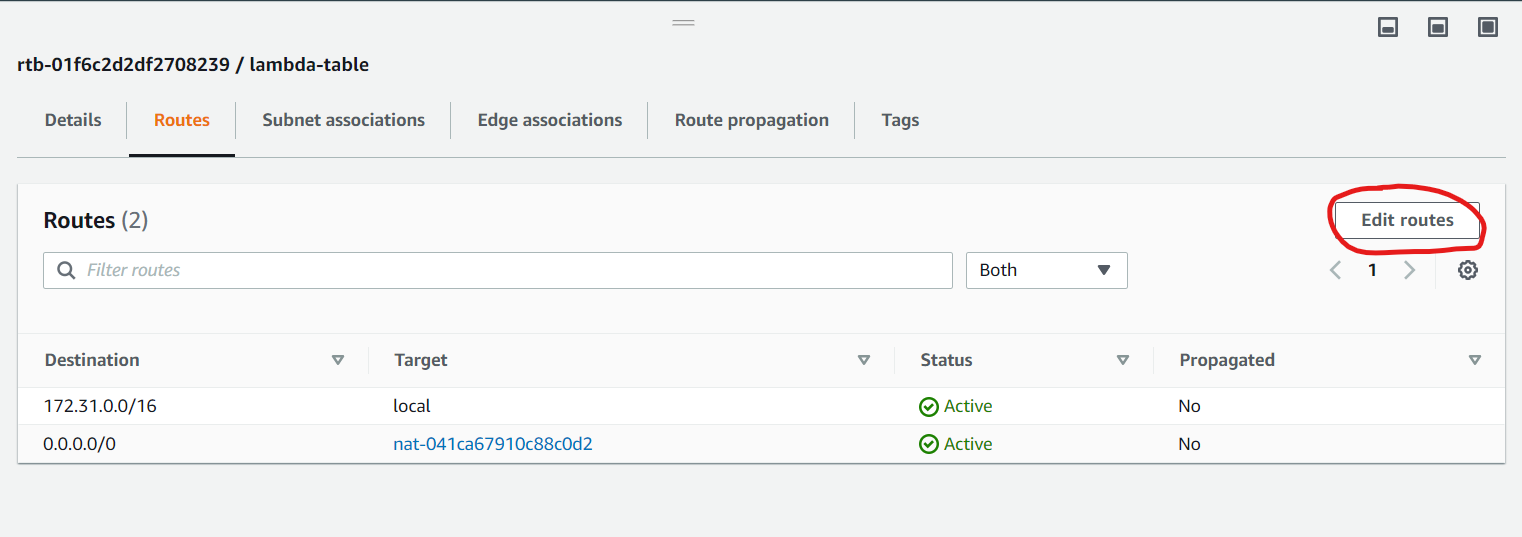
Provide a name for a new table, select your default VPC and click “Create route table”. After the table is created select the table and click on “Edit routes” add a new route with destination 0.0.0.0/0 and select your NAT gateway that you created in the previous step.
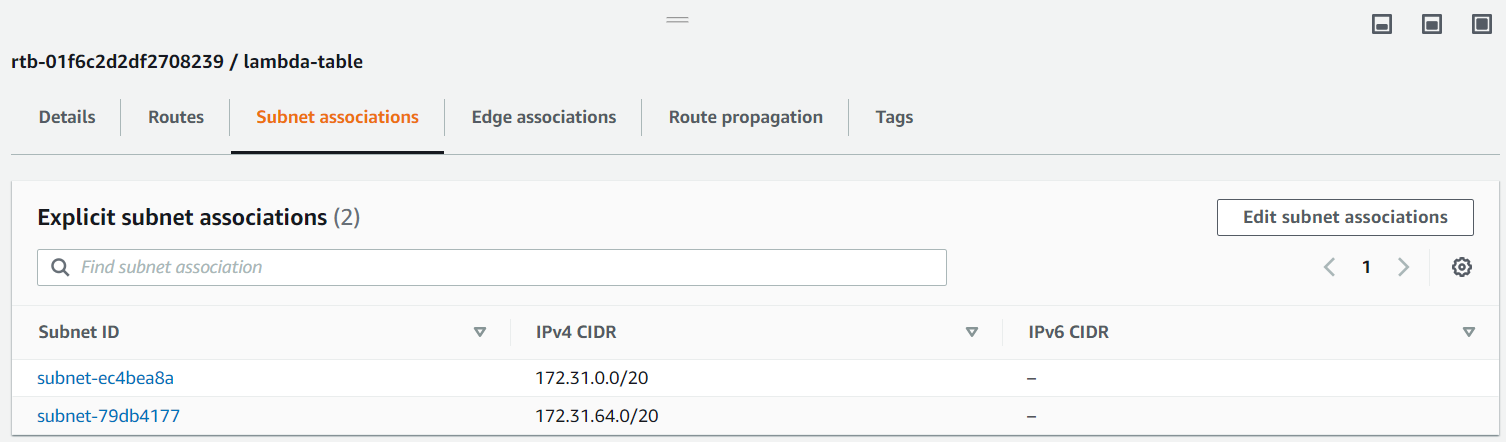
Next, click on the “Subnet Associations” tab and click “Edit subnet associations” and add two subnets (lambda function needs two subnets for HA) that are different from the one you used in the previous step.
Step 3. Configure Your Lambda Function
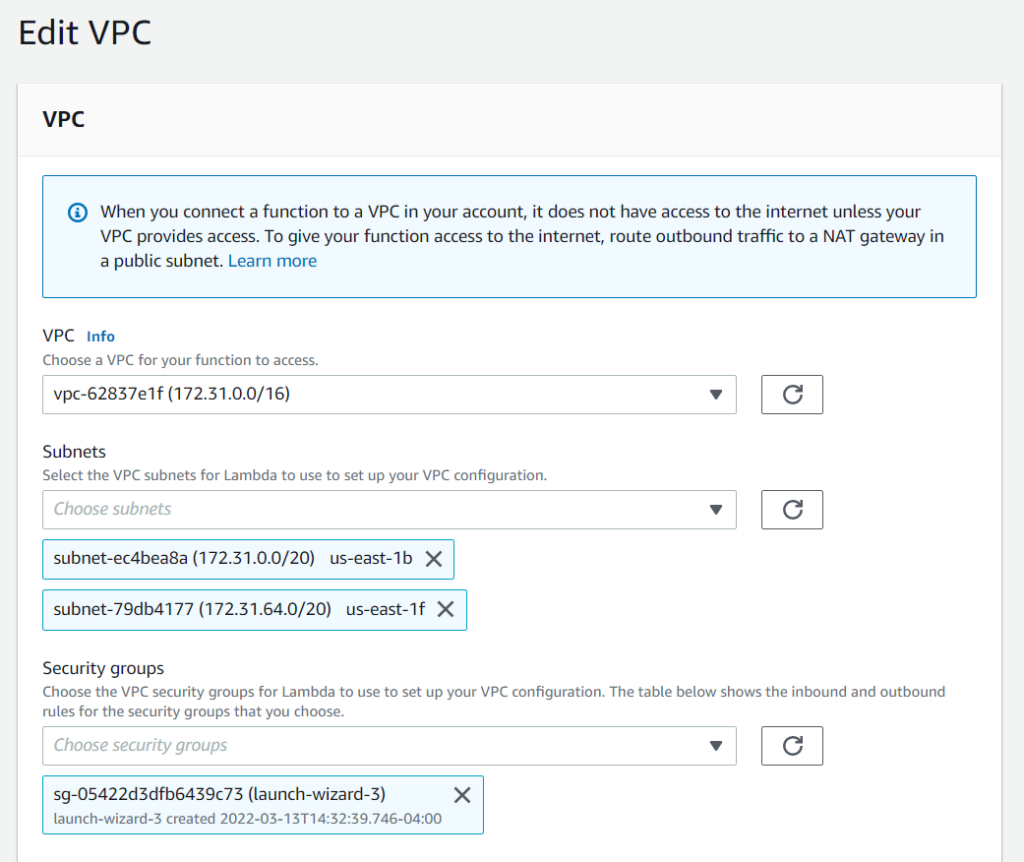
Now we need to point our lambda function to the NAT gateway so it can access the internet and have external IP. Open your lambda function and go to the Configuration tab. Under a “configuration tab” select VPC and click edit and provide VPC, two subnets (the ones you selected for the NAT gateway in the previous step) and provide your security group that your EC2 is using. In my case, I used the default VPC and default security group that was created during the EC2 setup process. Also, make sure your lambda has all necessary permissions to access EC2 recourses.
Congratulations! After completing this step your lambda function should have access to the internet.
Step 4. Add Lambda External IP to EC2 Security Group.
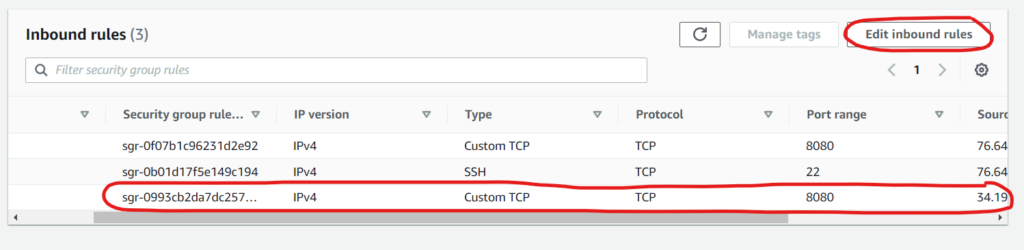
Now we need to add the IP we collected in step 1 in the security group of our EC2 instance. Select your EC2 instance and click “Security ” tab. Under Security groups click on the group associated with your instance. Click “Edit inbound rules” and provide the NAT gateway IP.
So, now your lambda can access the EC2 or other services via the internet while keeping the instance secure.